Floors we've actually done.

Every photo on this page is Rescue 1 Epoxy work — our own jobs across Pensacola, Milton, Pace and the rest of Santa Rosa and Escambia County, from the bare slab through to the finished floor.

Finished floors

The part you get to park on.

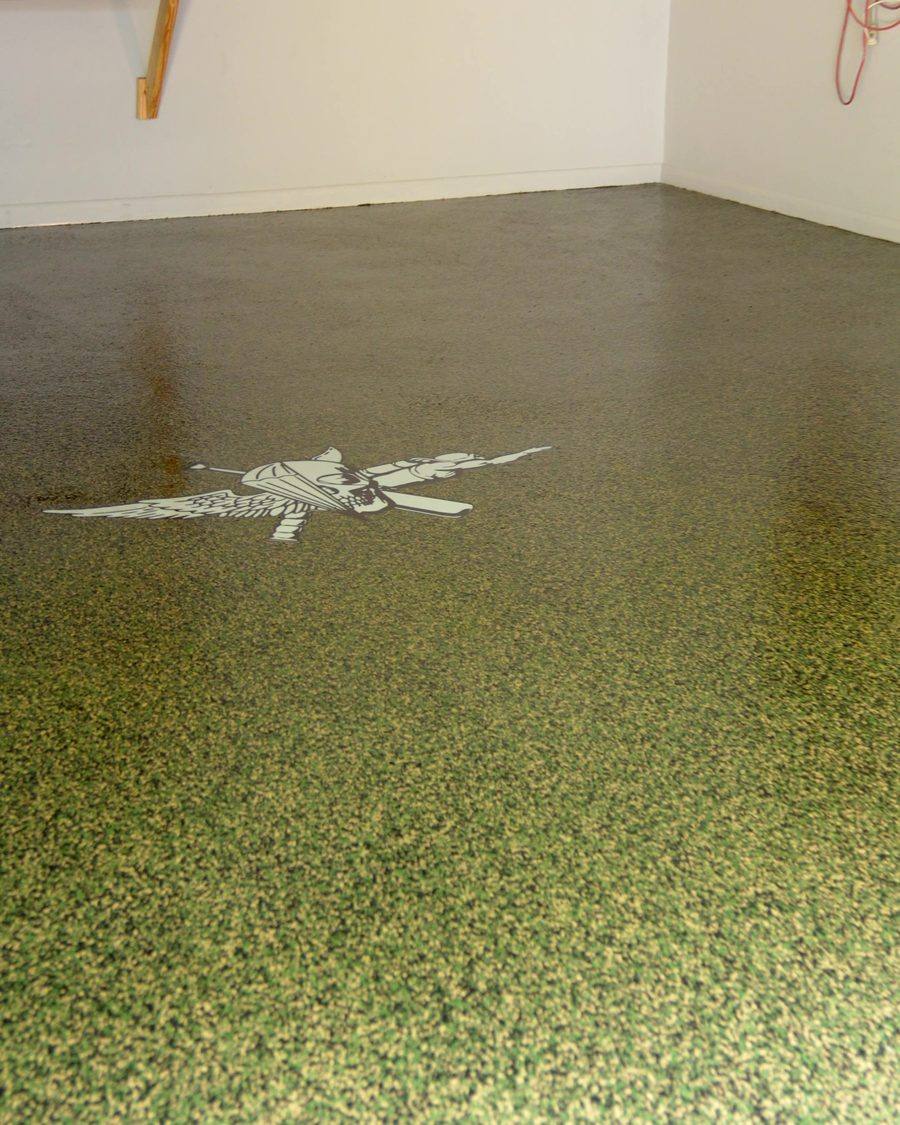
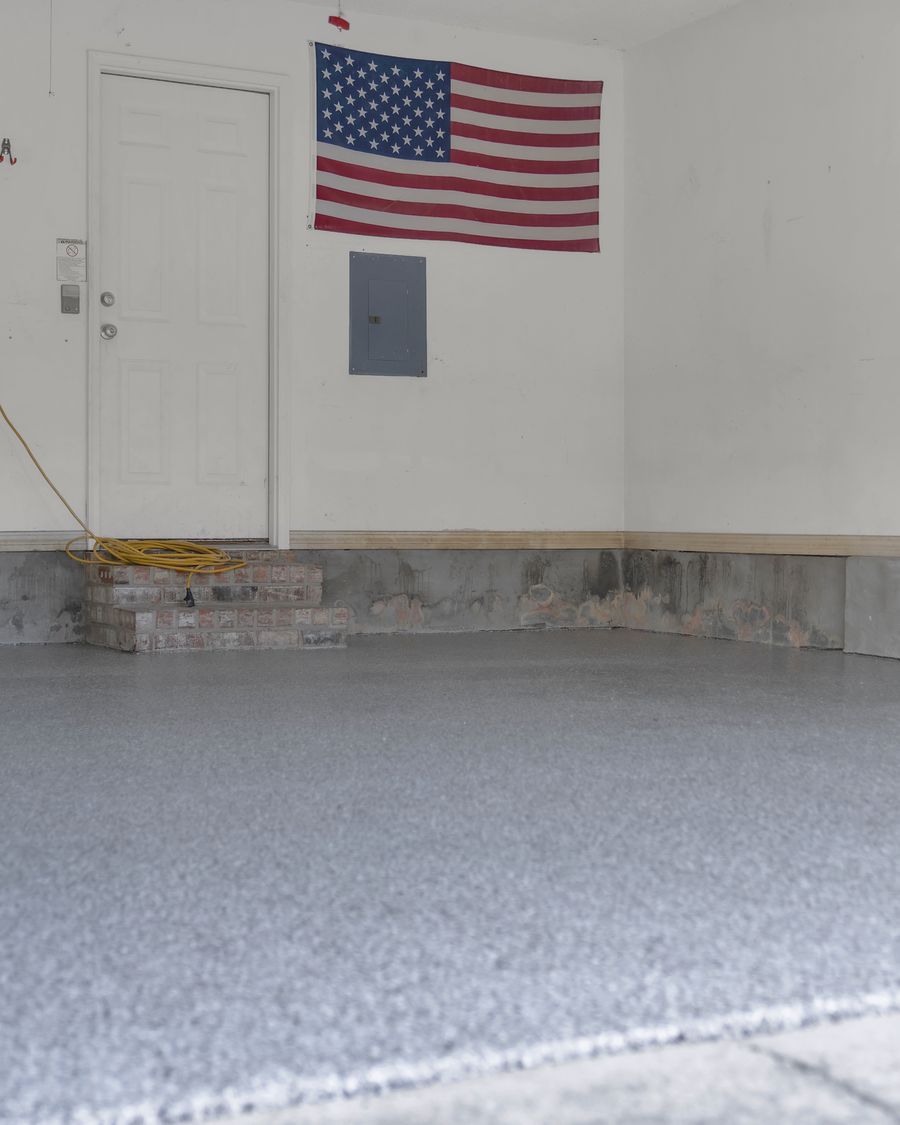
Chip flake garages, coated edge to edge, with custom stencil work where the owner wanted it.
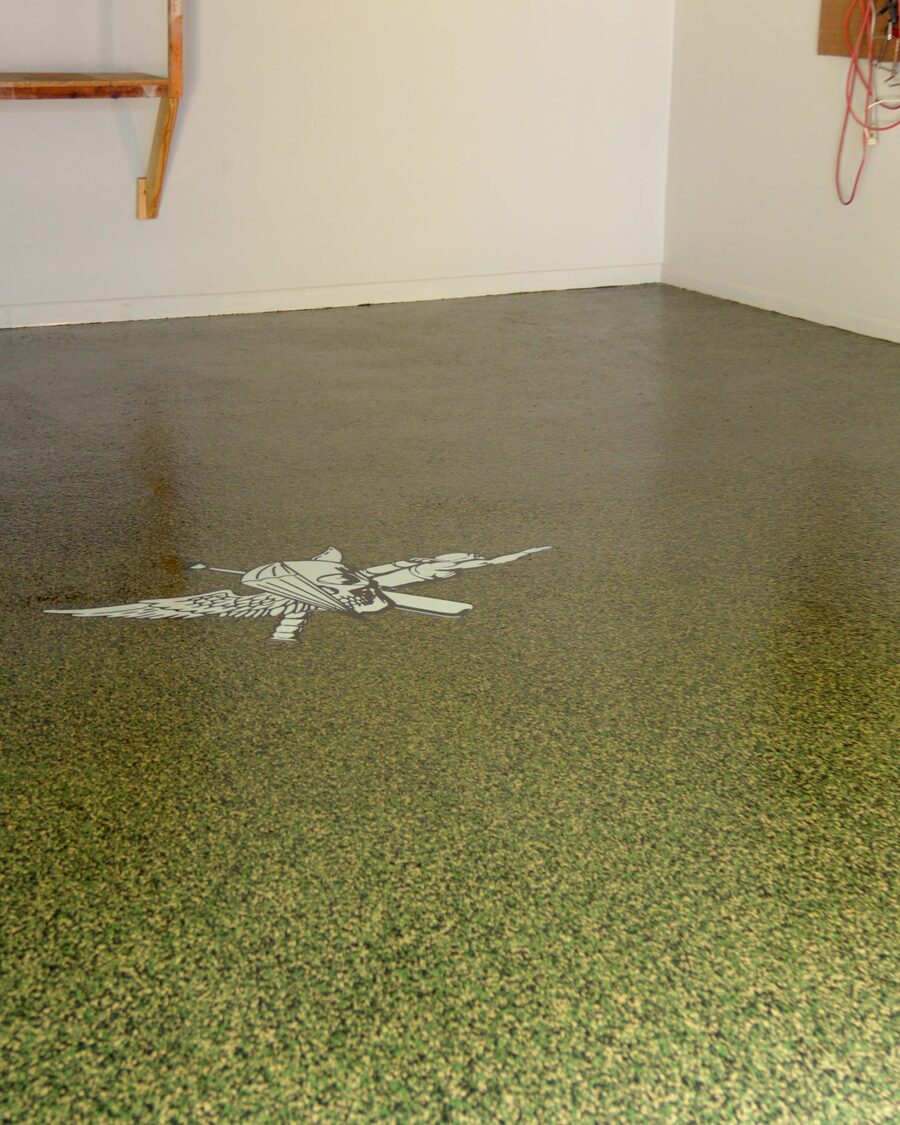
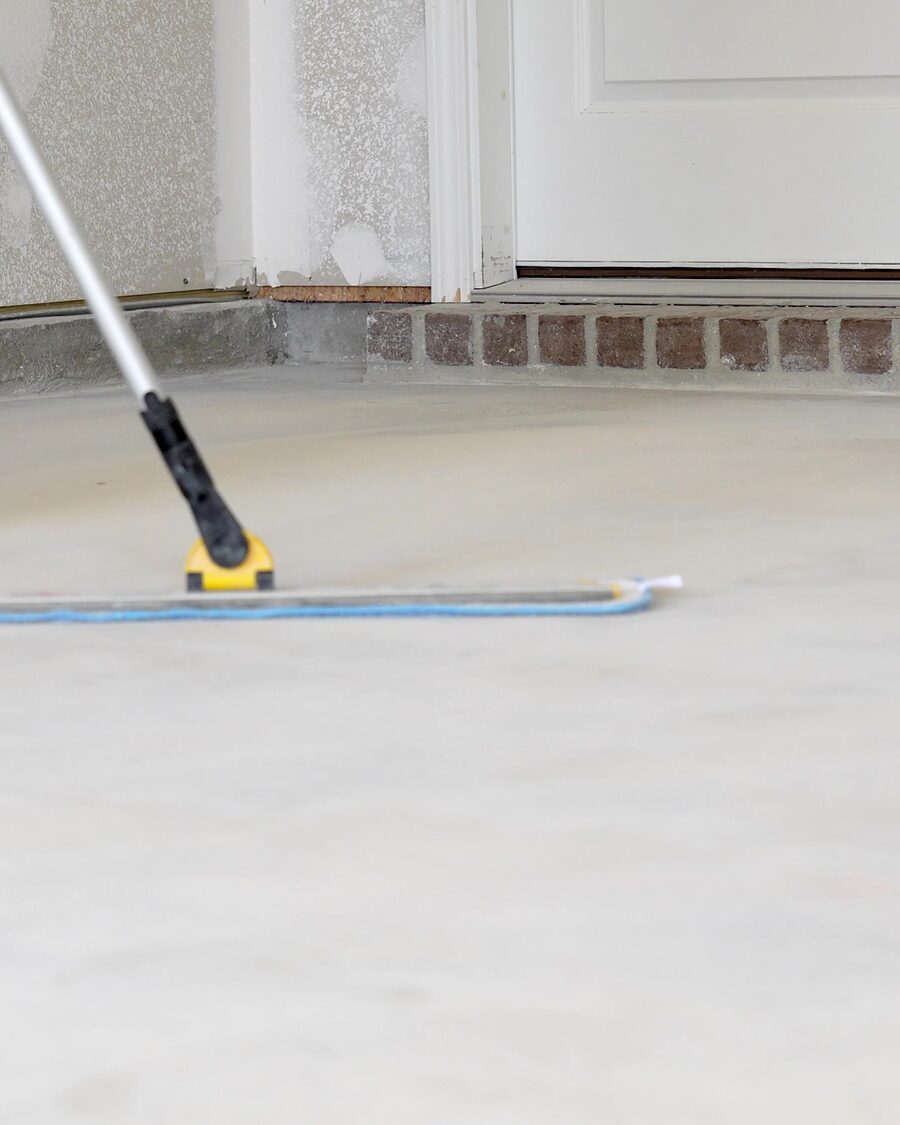
Finished chip flake garage floor with two custom stencil inlays, seen wall to wall Freshly coated garage floor squeegeed out to the doorway Finished chip flake floor with a custom firefighter stencil inlay Topcoat being pulled across a blue-grey flake floor Finished grey and white chip flake floor running up to the back wall of the garage

The process

The part nobody photographs.

Grinding, crack repair, edge work and the broadcast. This is where a floor is either made to last or set up to fail.
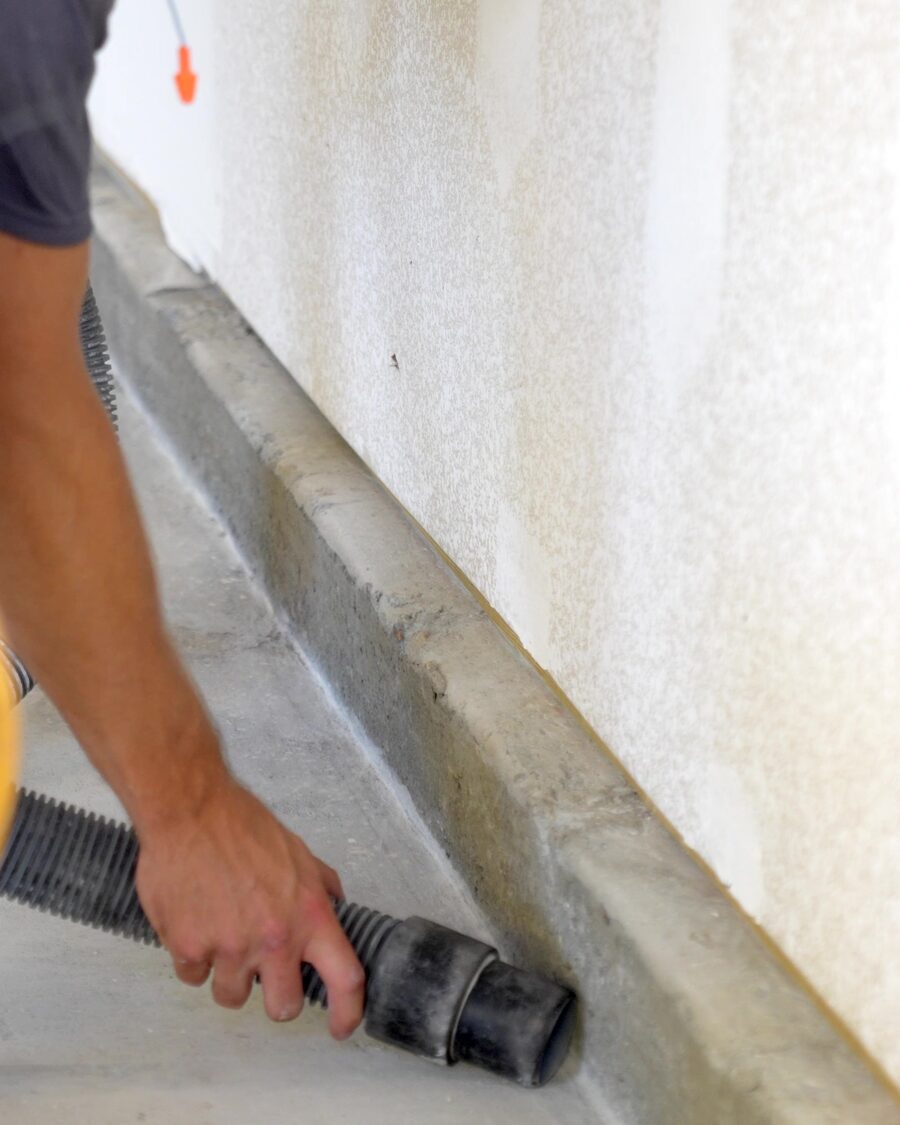
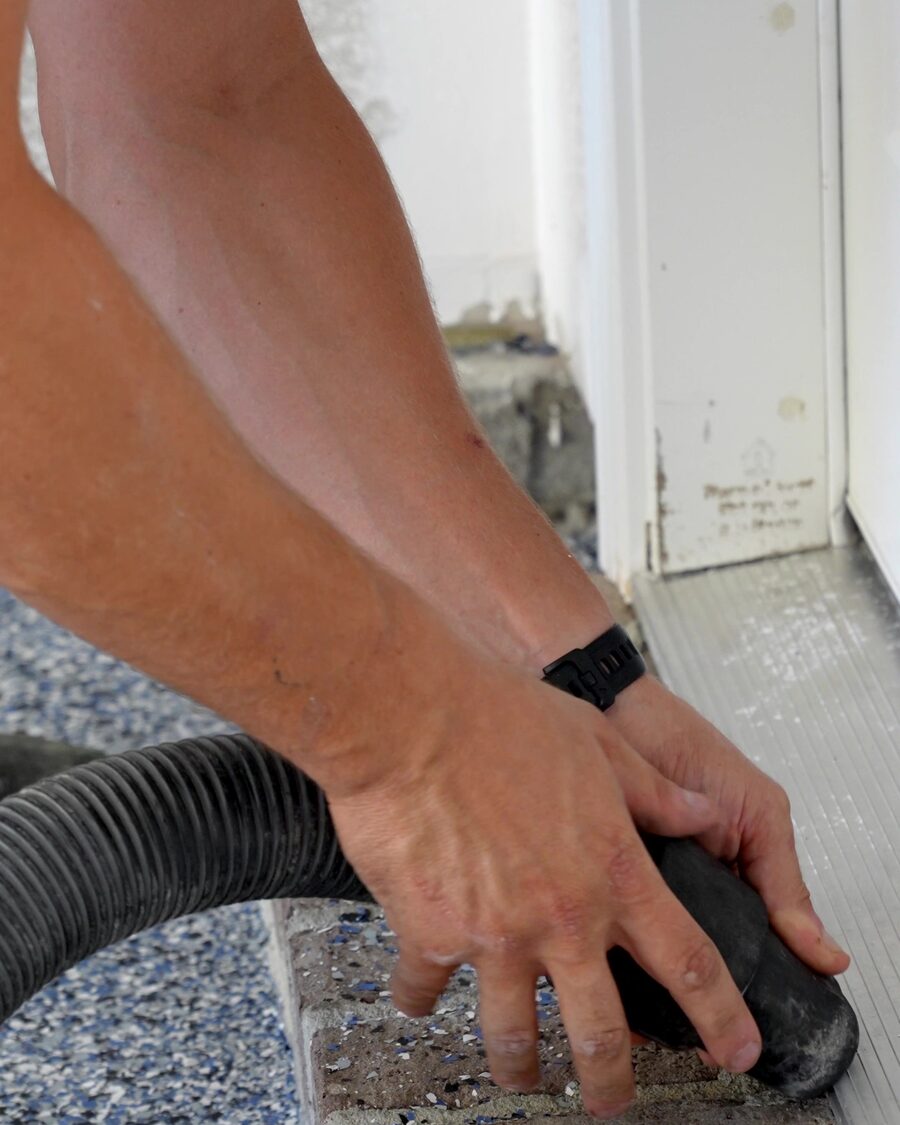
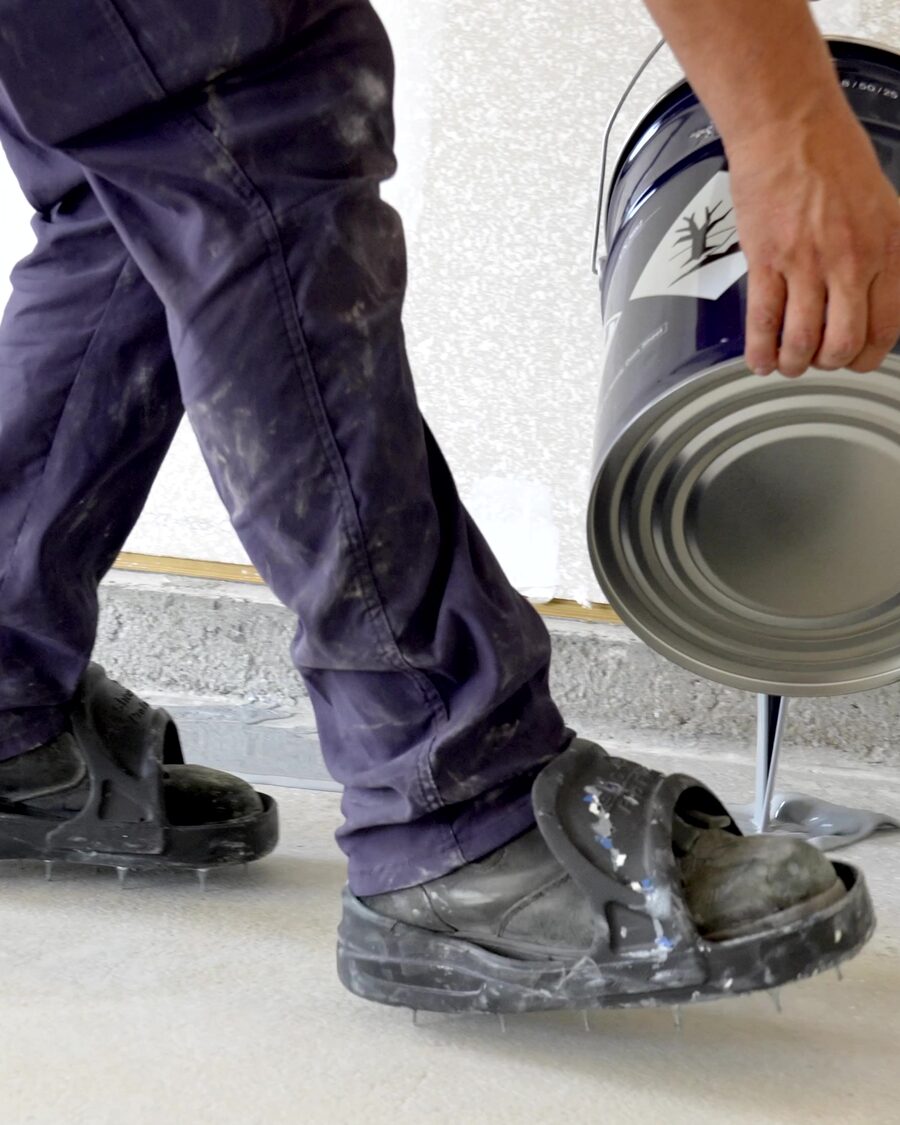
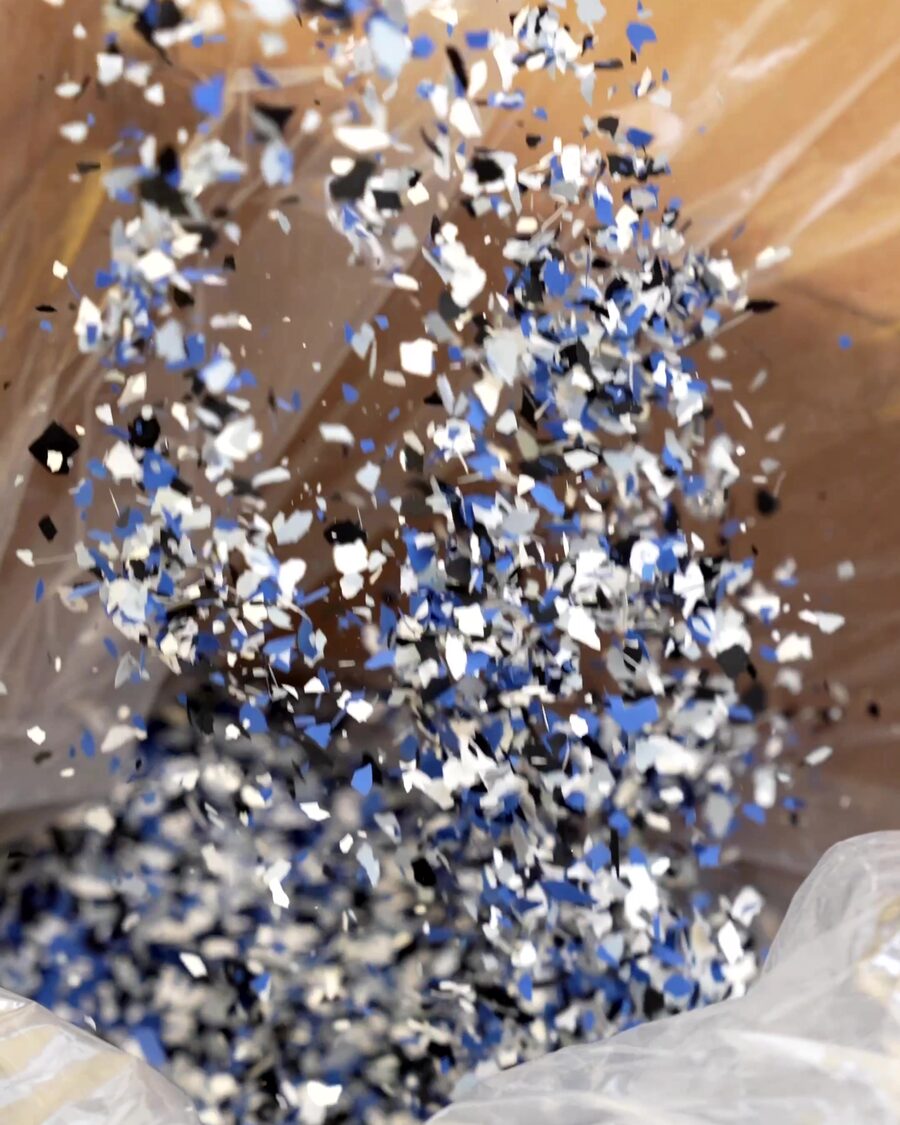
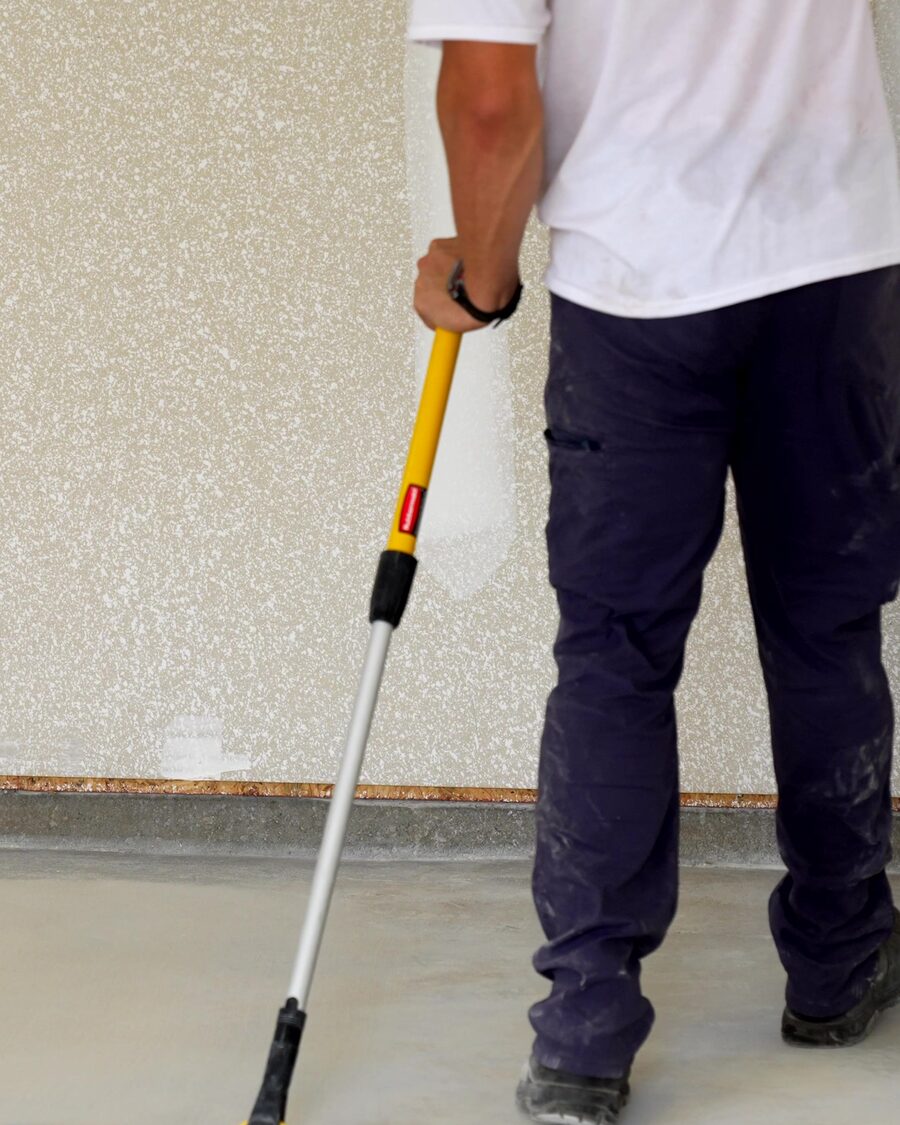
Running the floor grinder to open up the concrete before any coating goes down Vacuuming the wall and floor joint so the preparation runs edge to edge Vacuuming loose flake from the edge of a freshly coated step Pouring epoxy straight from the can onto a prepared slab, spiked shoes on Vinyl flake in the air over a freshly coated floor during the broadcast Working a fresh coat out to the wall with a squeegee

Before & after

The same garage, twice.

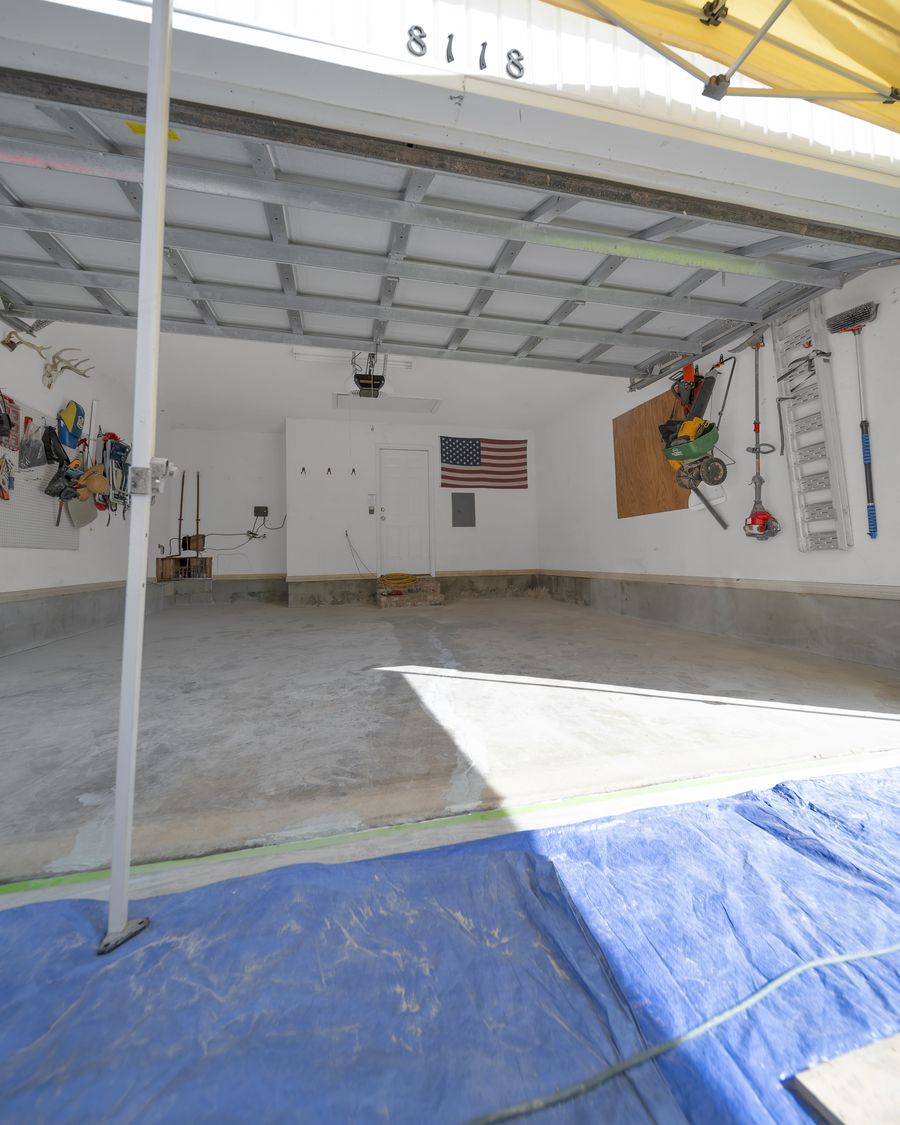
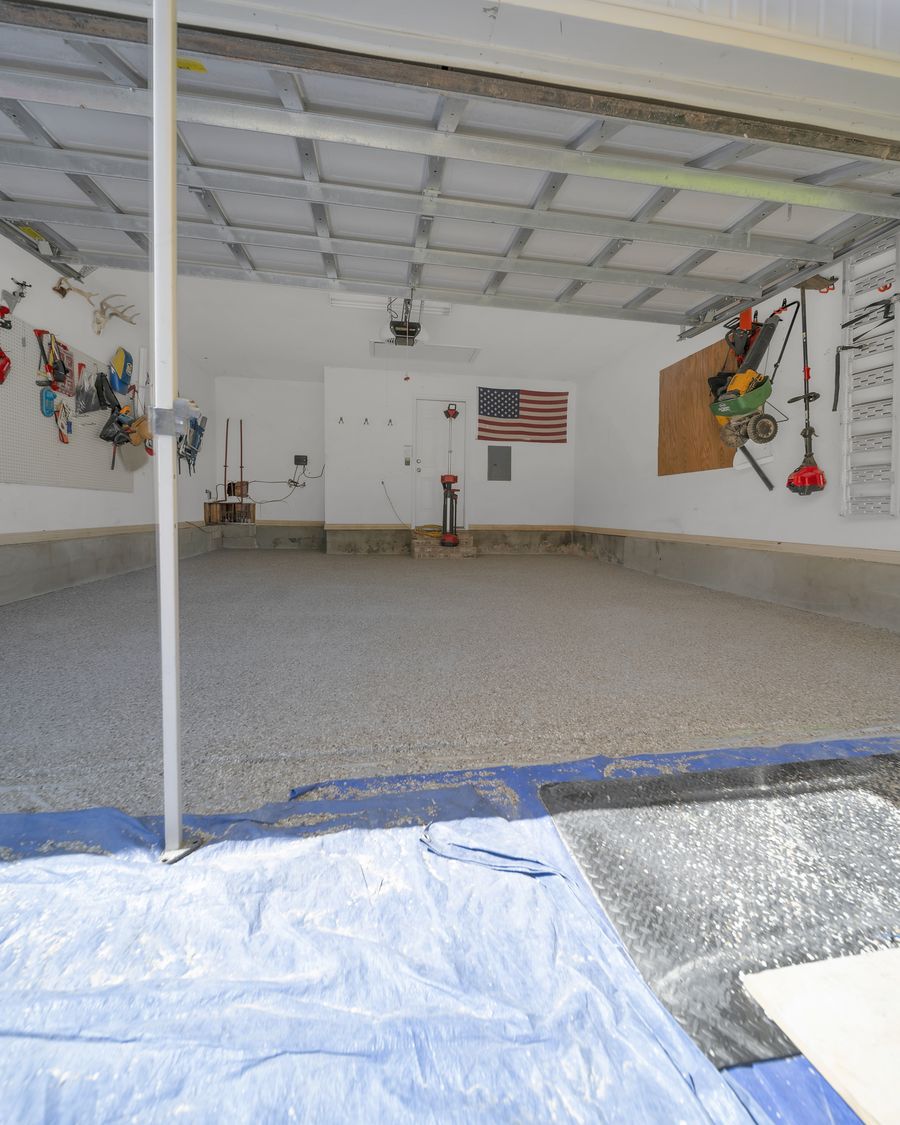
One job, shot from the same two positions — once before the grinder came out, and again with the finished floor down. Same camera, same spot, nothing swapped.
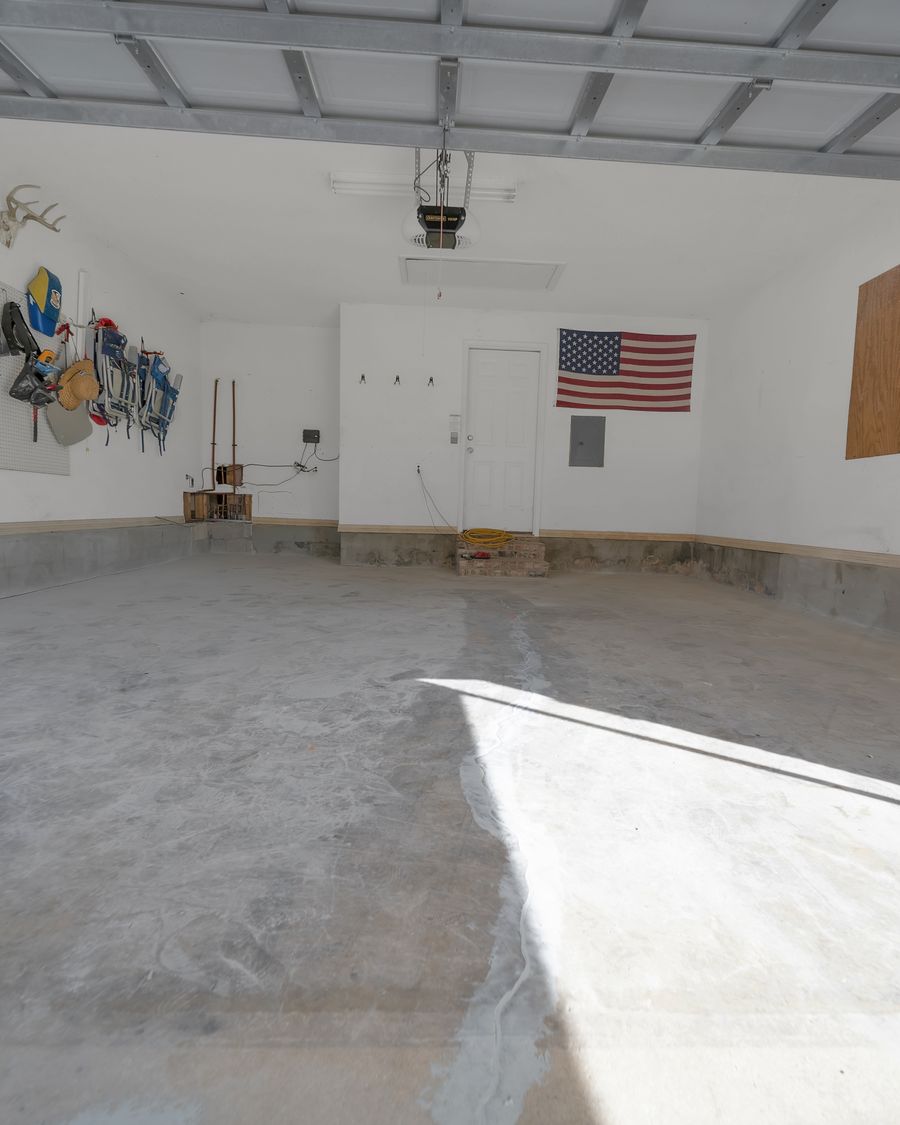
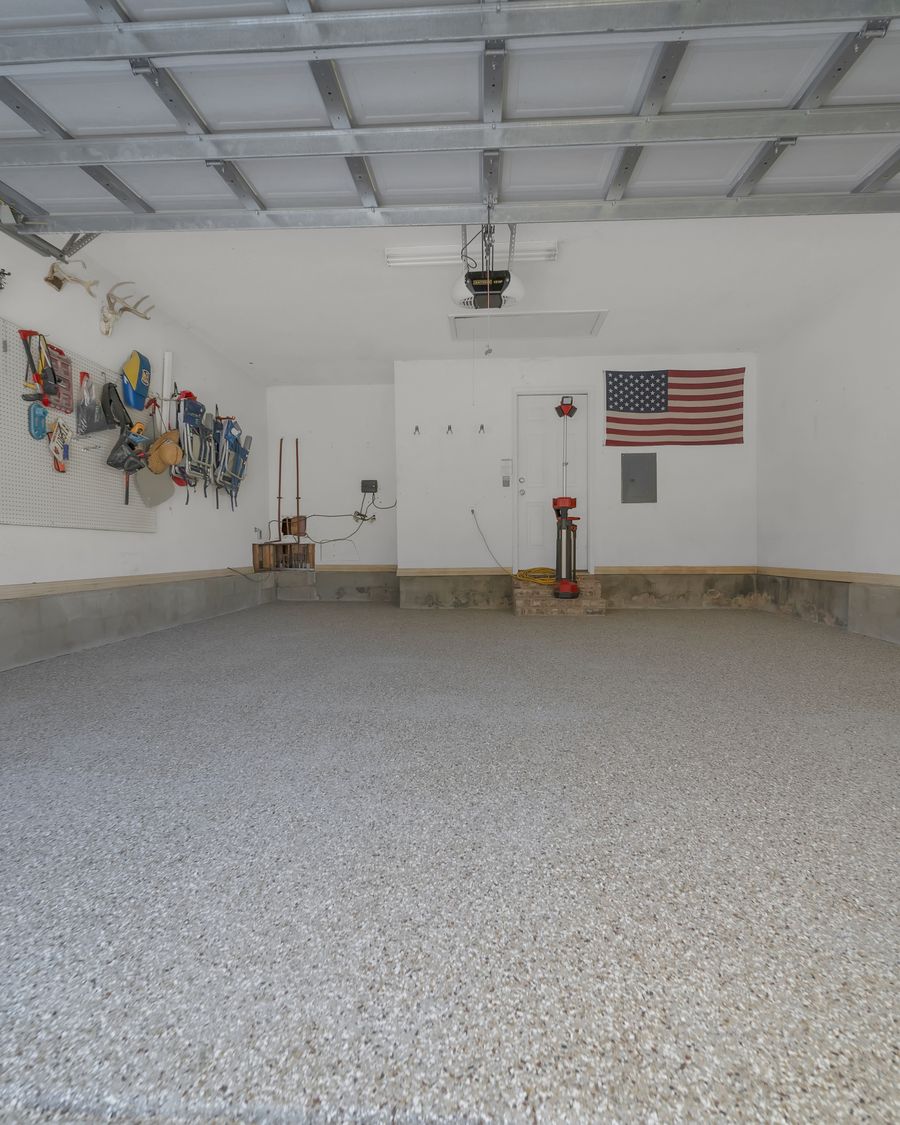
Bare concrete garage slab masked off with tarps before any grinding or coating The same garage finished wall to wall in grey and white chip flake
Bare garage slab seen from the driveway with the canopy up and the floor masked for preparation The same garage seen from the driveway with the finished chip flake floor down

Left, the slab as we found it. Right, the same floor after grinding, crack repair, base coat, flake broadcast and topcoat.
Detail & materials

Close up, where it shows.

Topcoats, stencil work, and the mixing and measuring that happens before any of it reaches the floor.
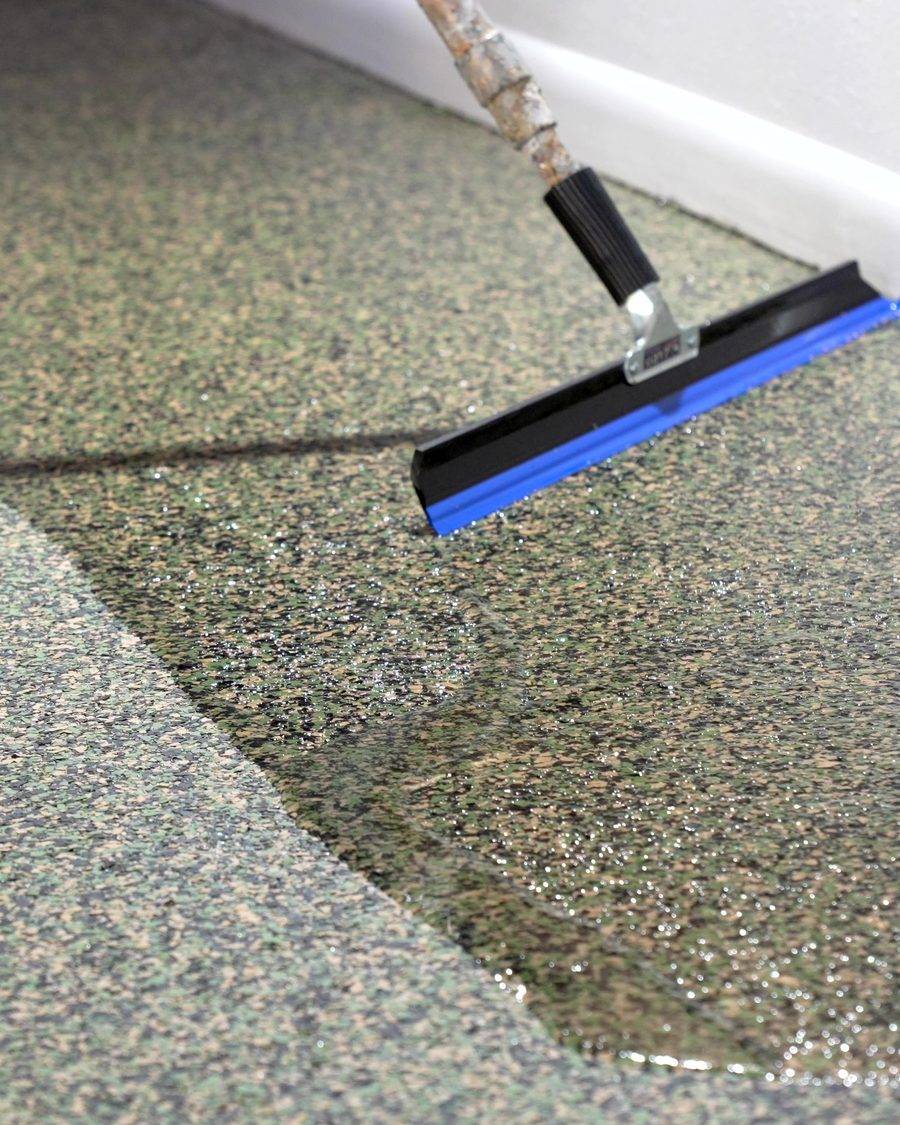
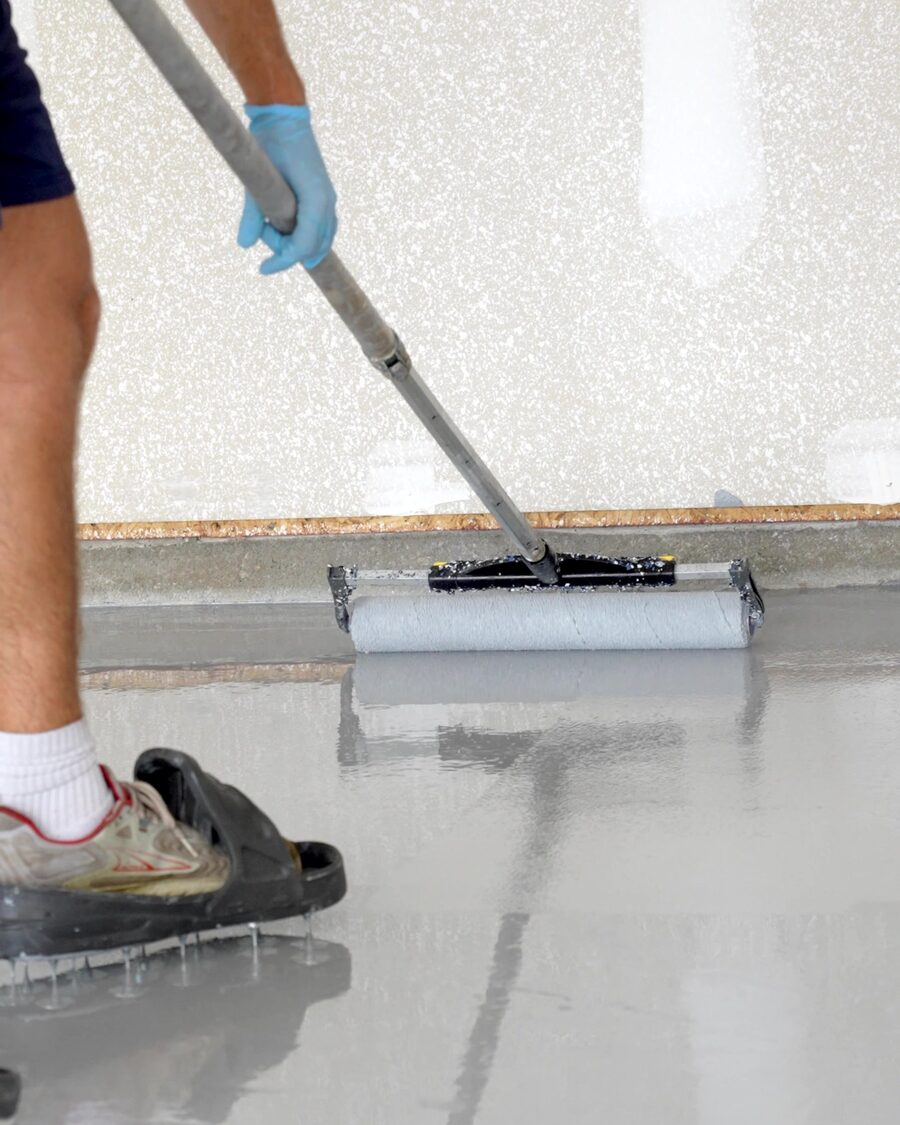
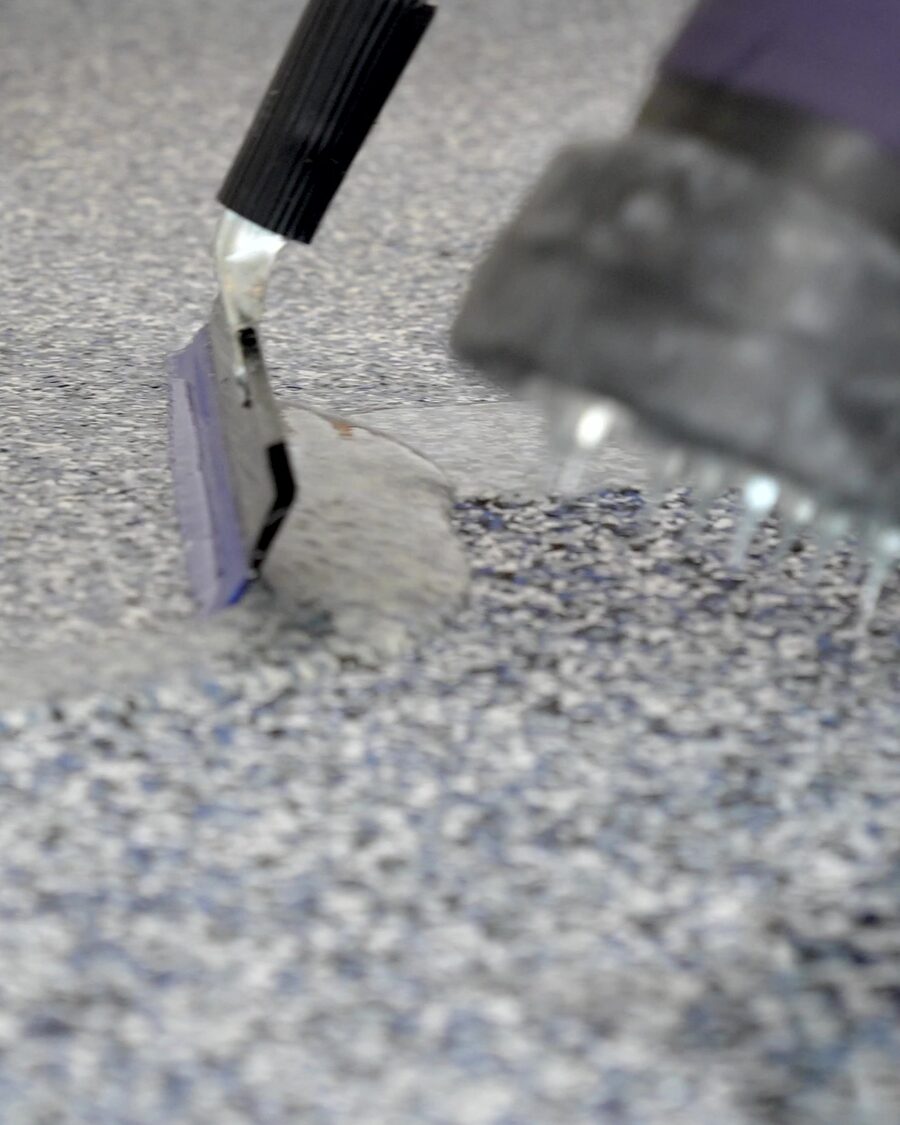
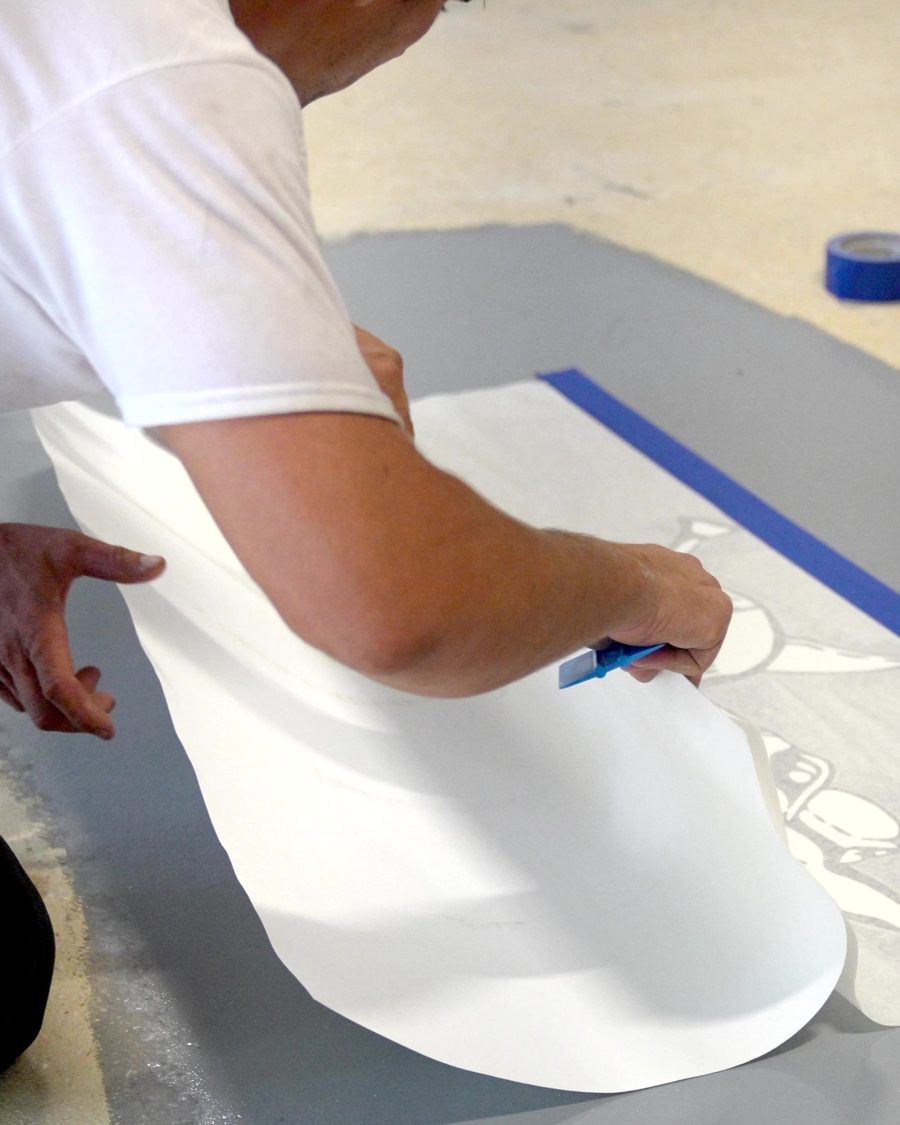
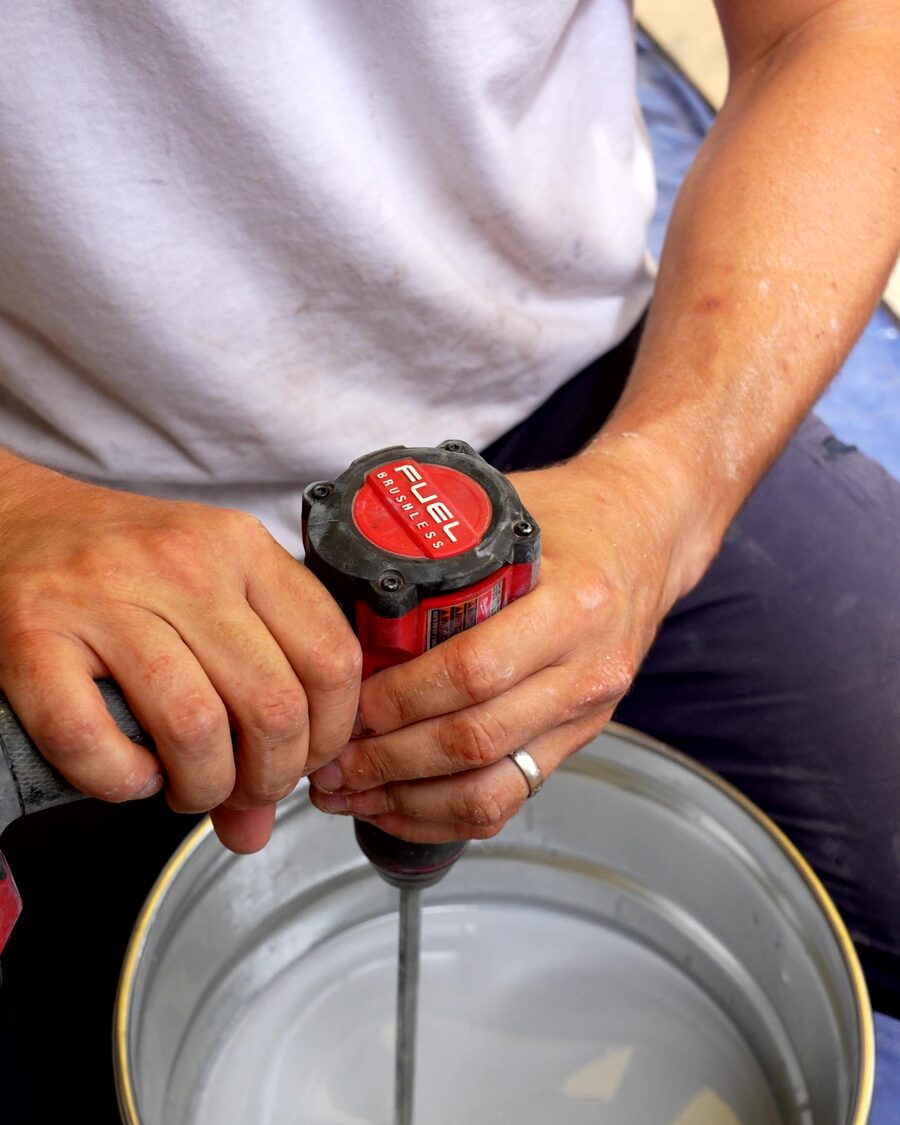
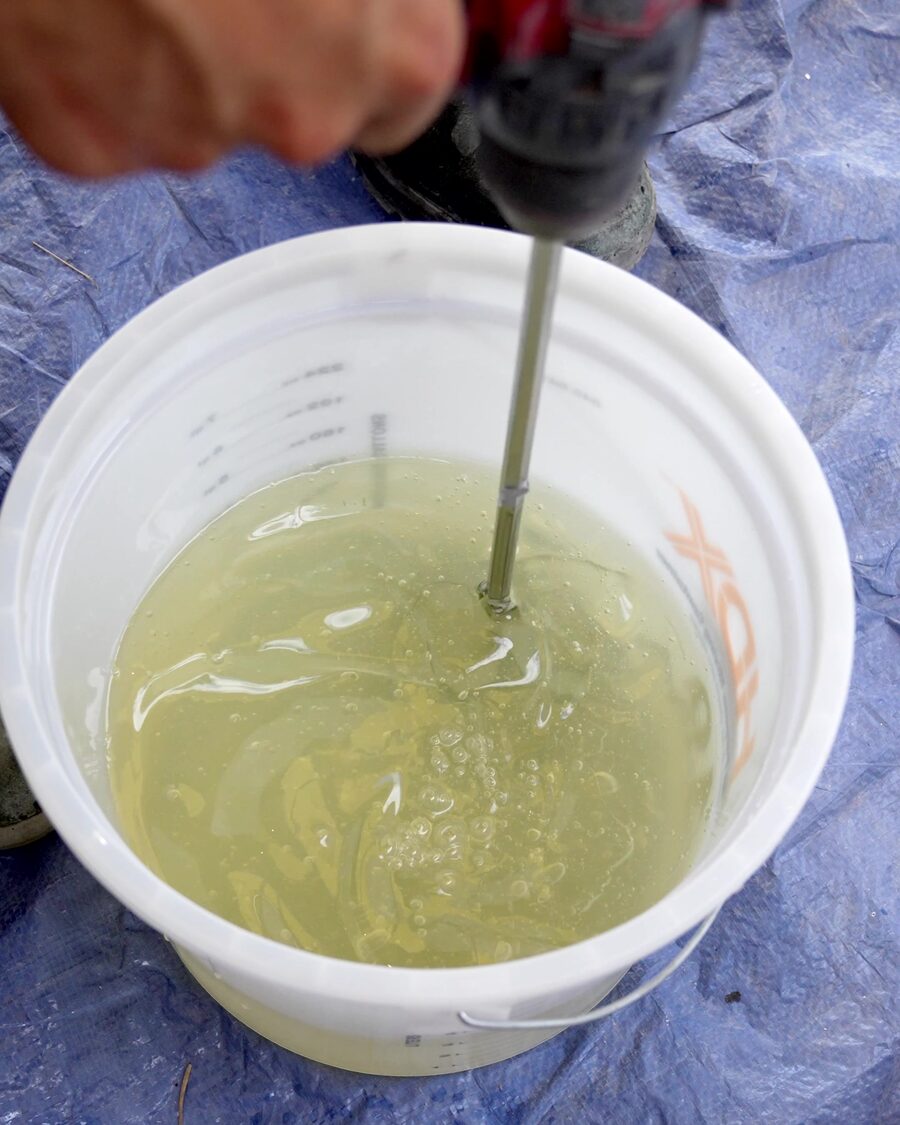
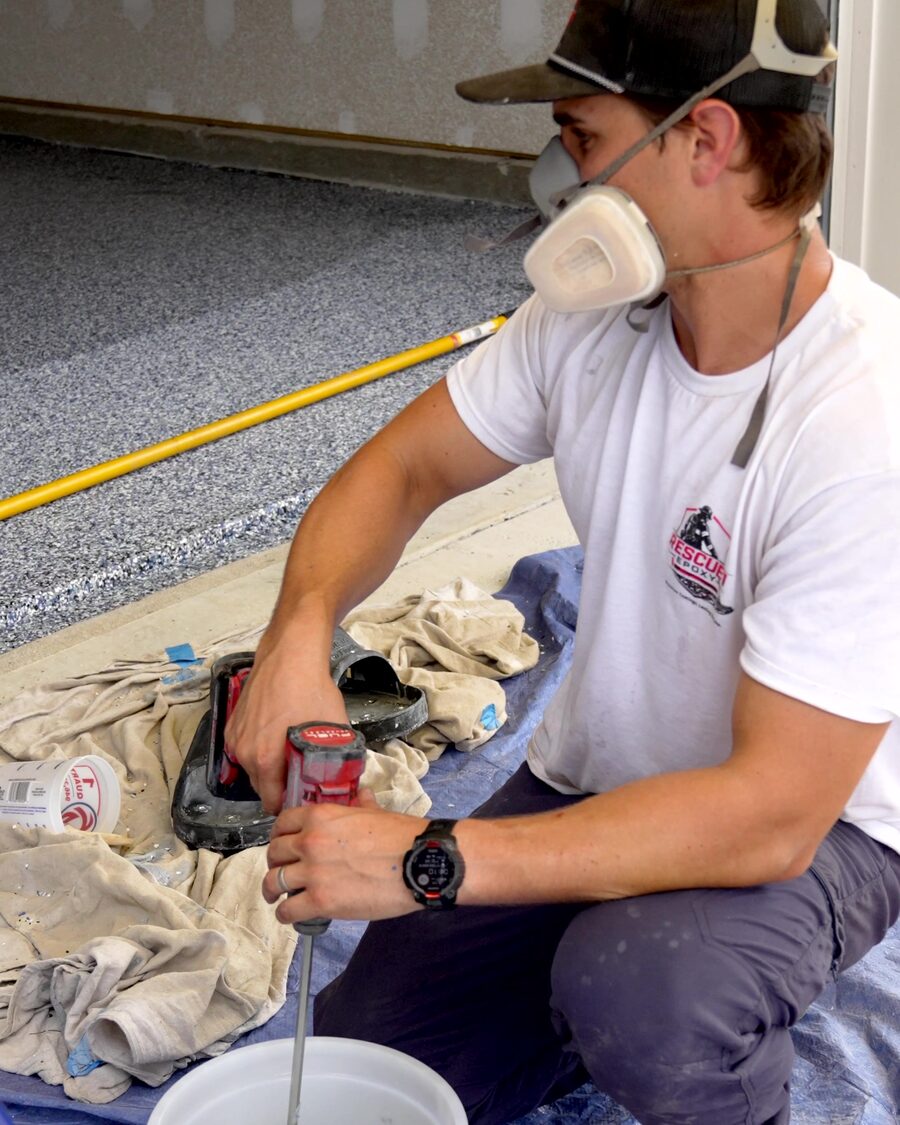
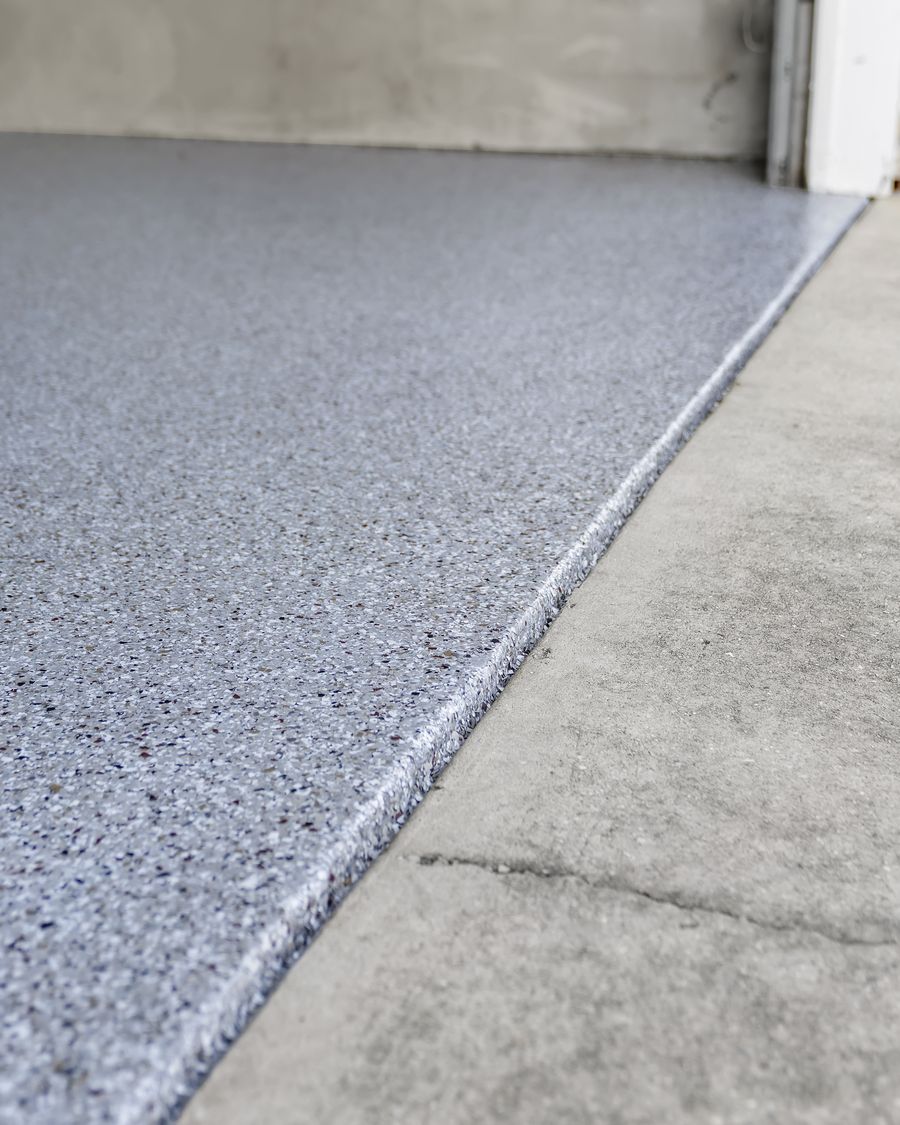
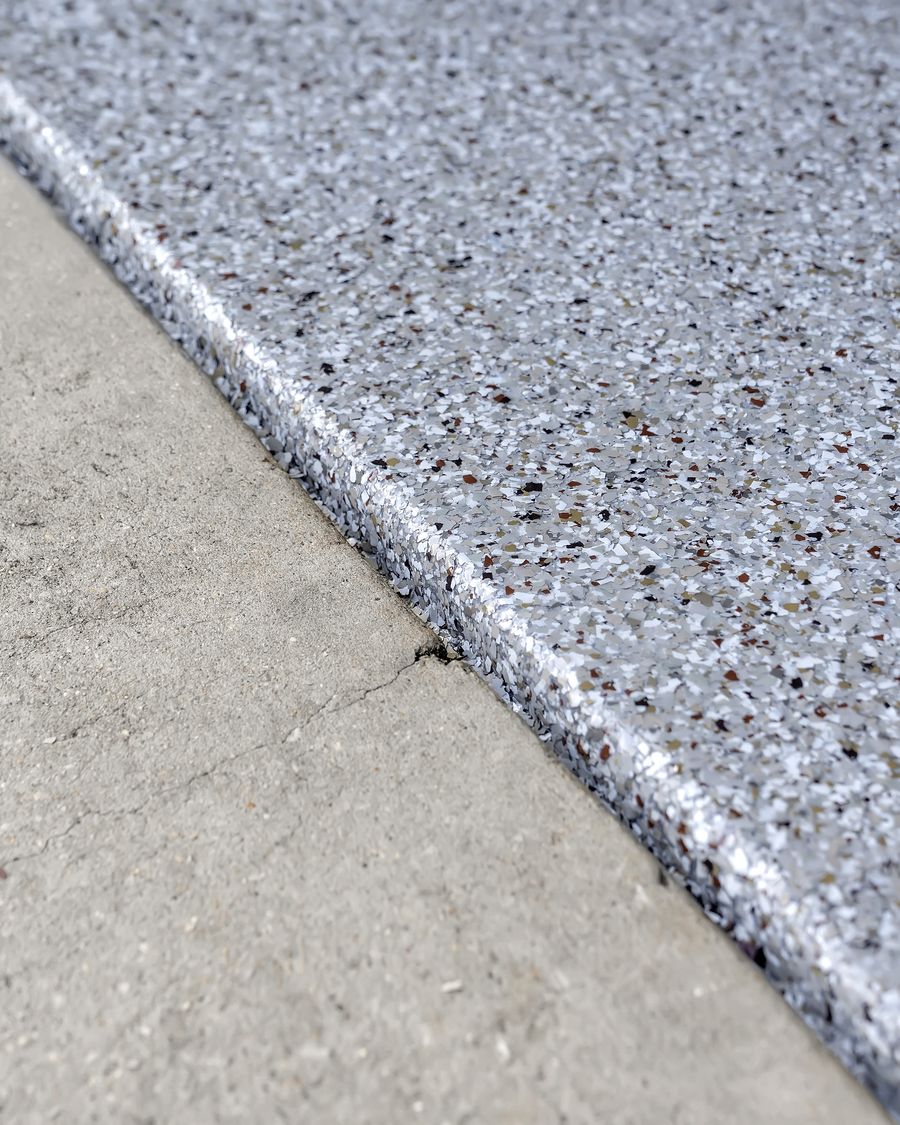
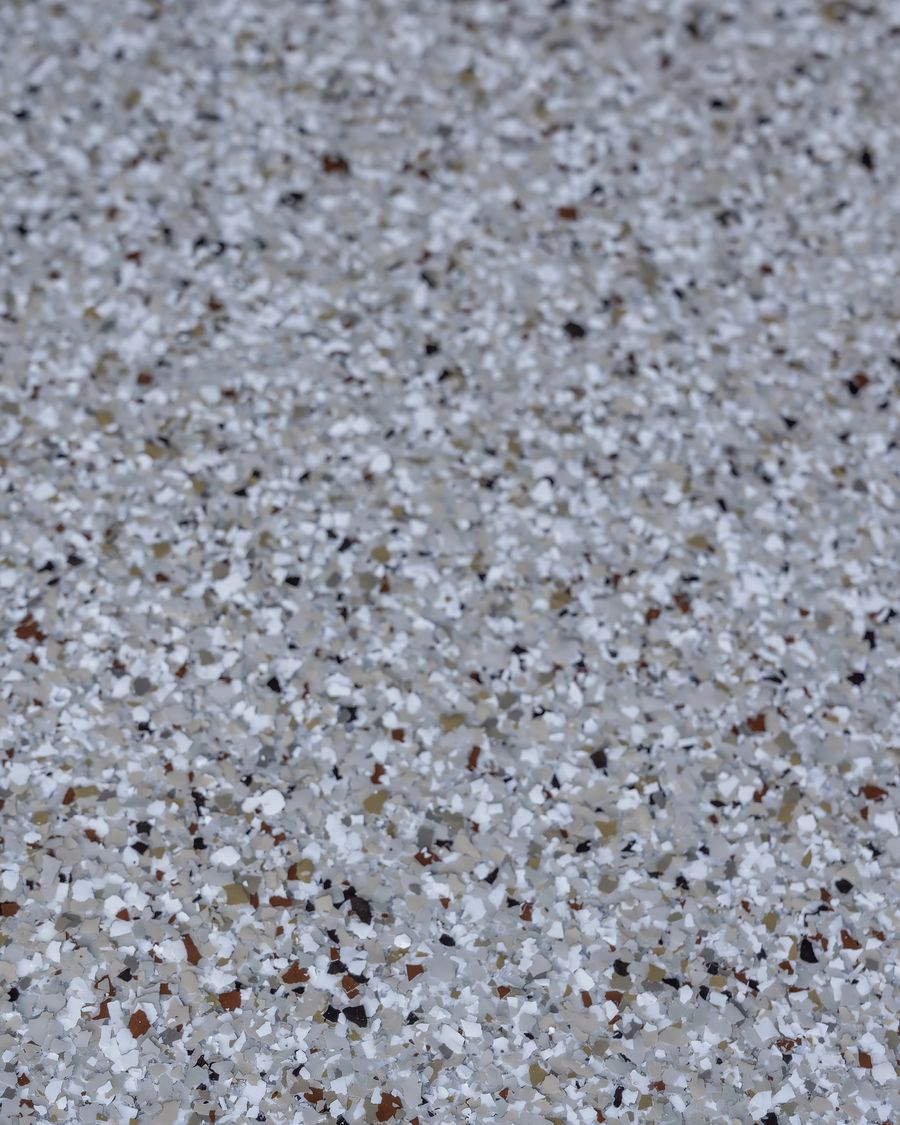
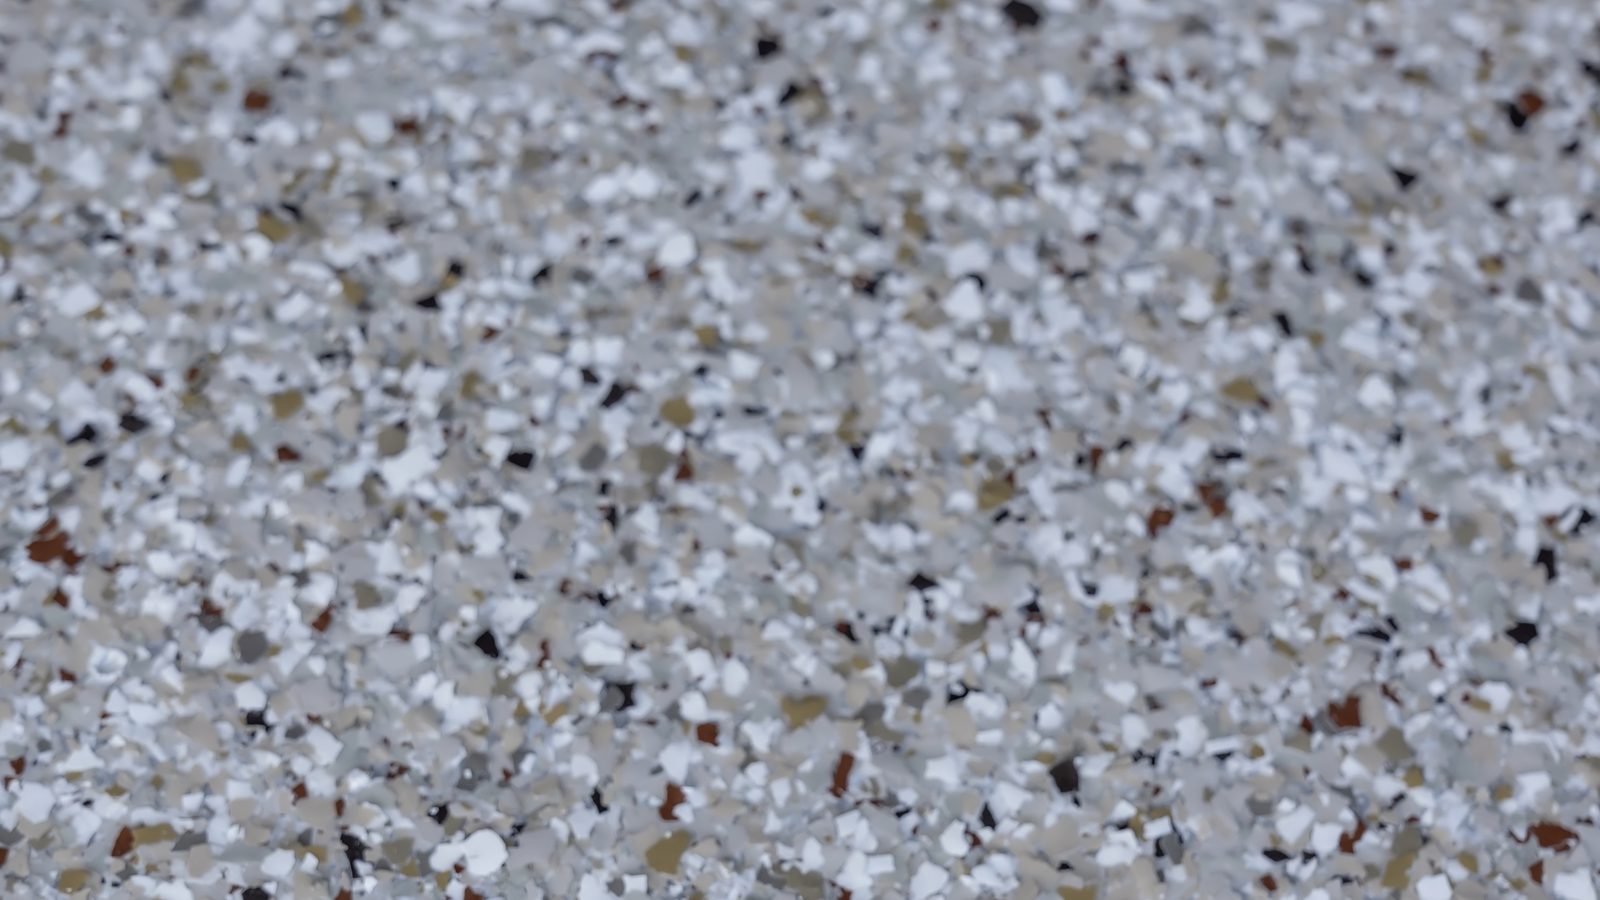
Squeegeeing clear topcoat over a fresh flake broadcast Rolling clear coat across a glass-wet floor Peeling the backing from a custom floor stencil on a fresh base coat Mixing a can of coating with a paddle before it goes down Mixed coating in the bucket, ready to pour Mixing on site in a respirator, drop cloths down over the slab The coated floor stopping in a clean line at the garage threshold, next to the bare driveway Close up of the coating edge, showing how much build sits on top of the bare concrete Chip flake surface close up, grey, white and tan flake locked under a clear topcoat

On the job

Same guy, every time.

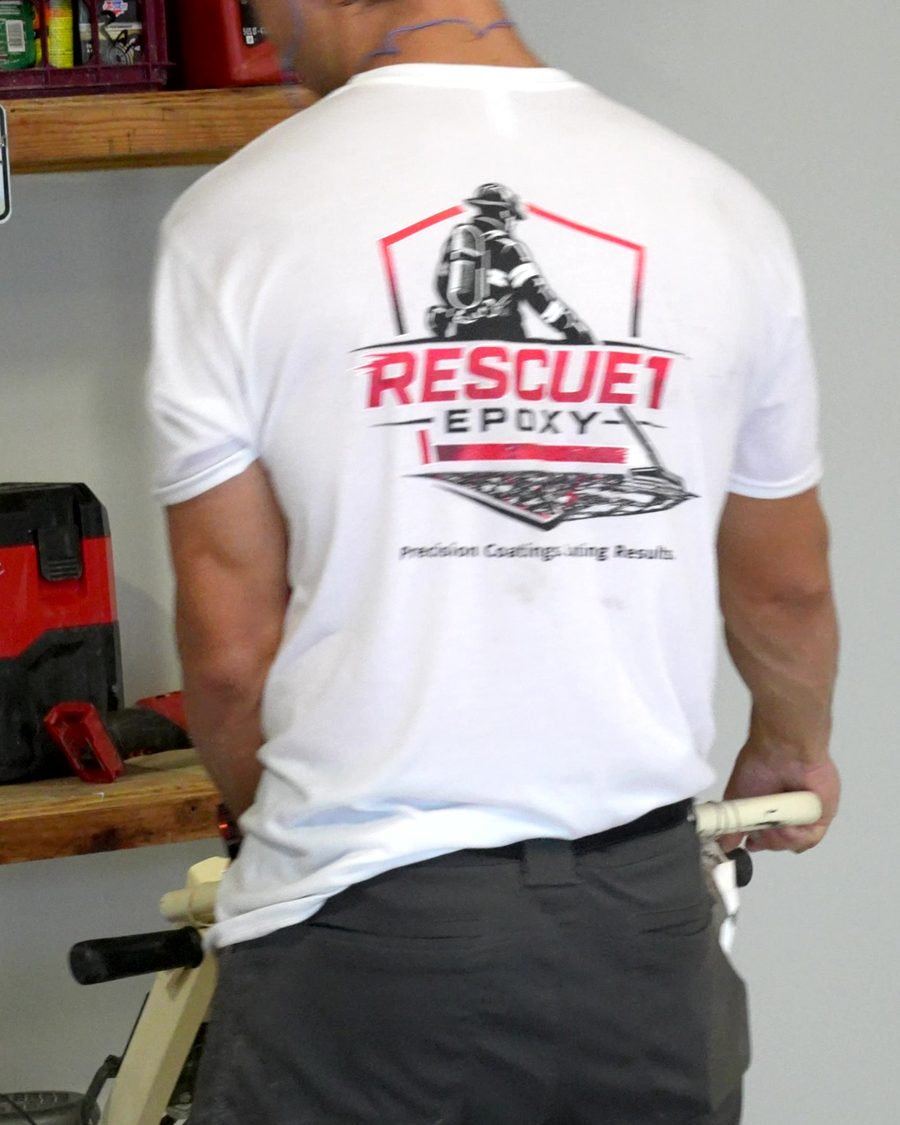
Rescue 1 Epoxy is firefighter-owned and locally owned. When you call, you get the owner — and he's the one on your floor.
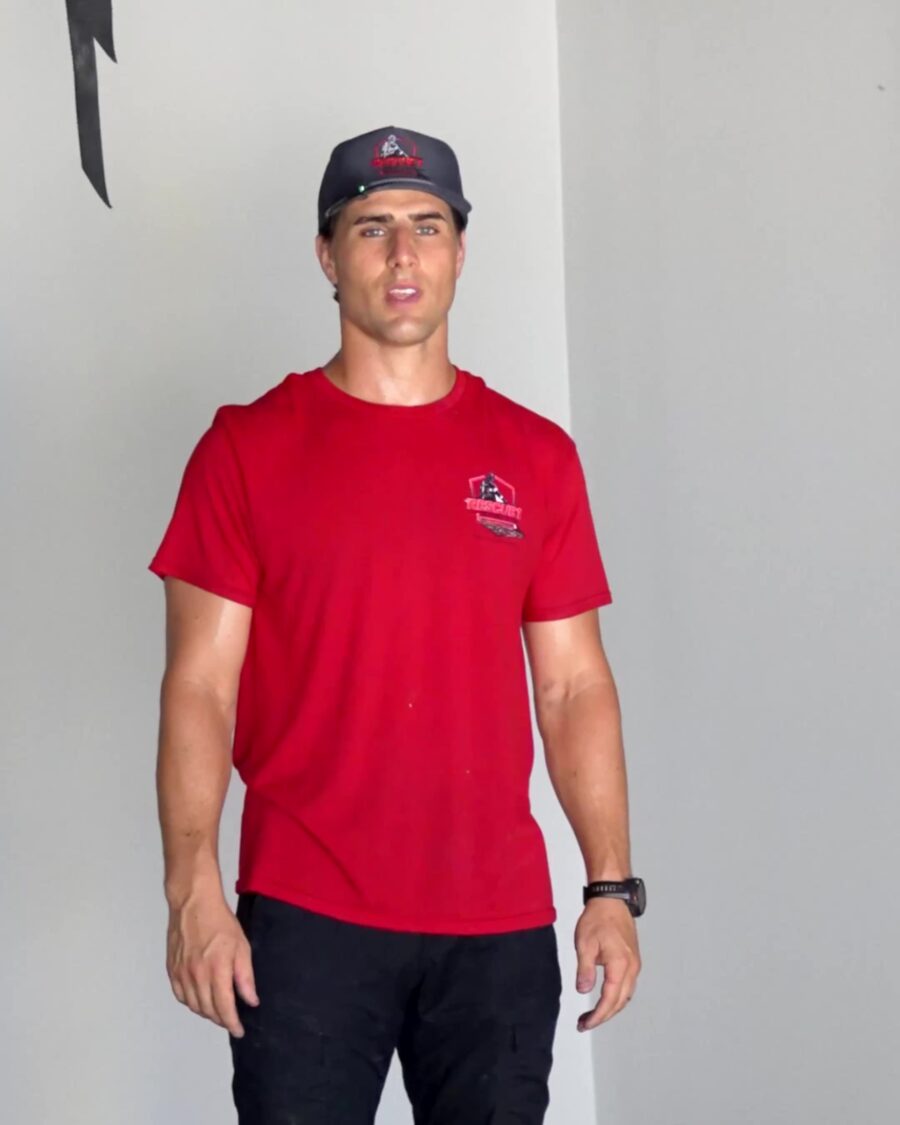
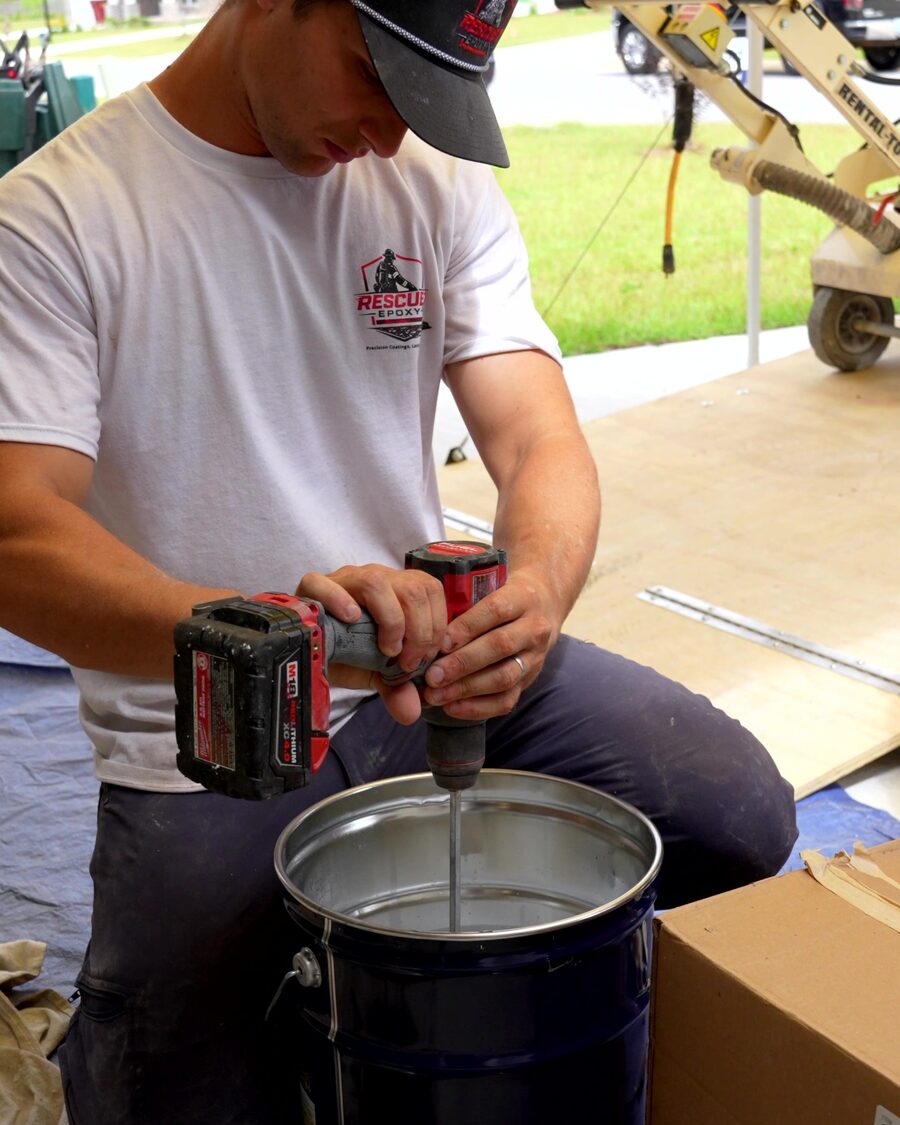
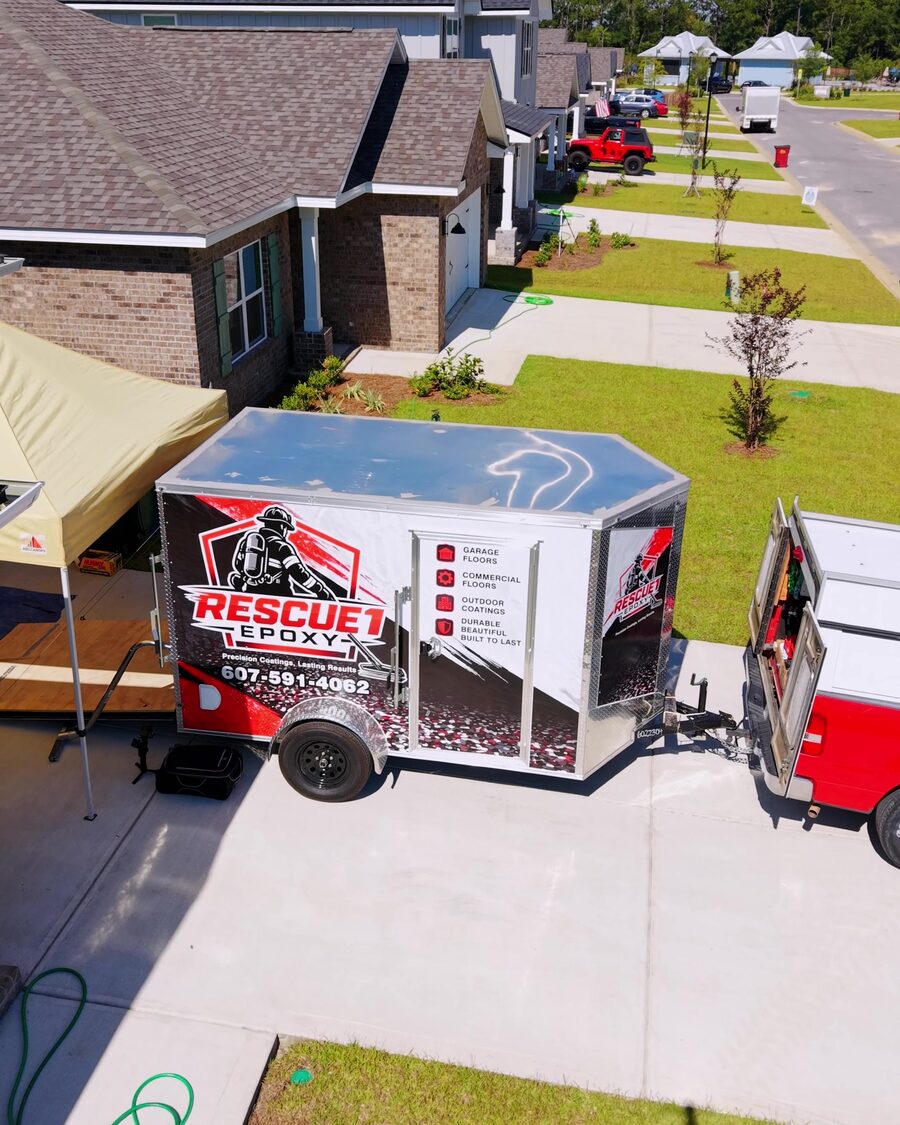
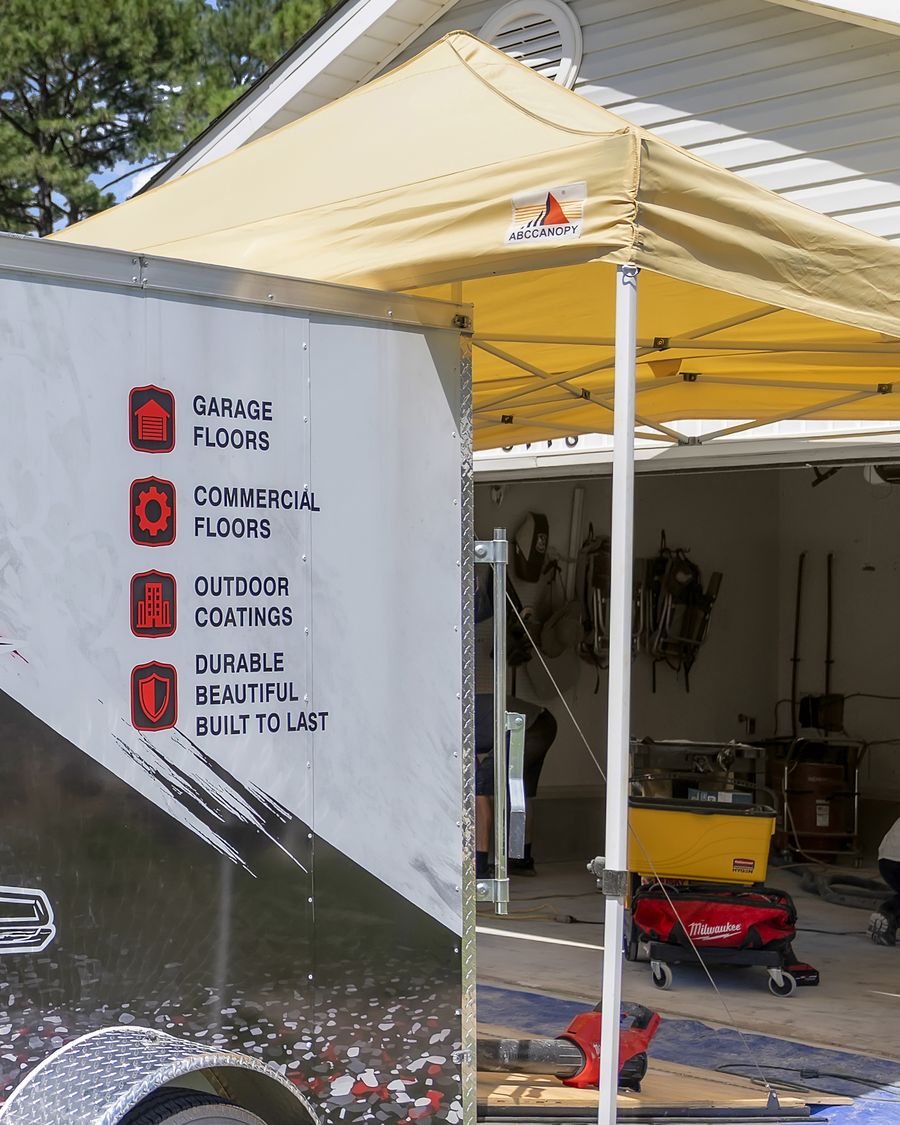
Drew Becker, owner of Rescue 1 Epoxy, standing on a freshly coated grey floor Mixing product in the driveway with the floor grinder staged behind Aerial view of a job in progress with the Rescue 1 Epoxy trailer on site The Rescue 1 Epoxy trailer and canopy set up at the open garage door on a job

Prices for each of these finishes are on the coating systems and pricing page. Every photo on this page is our own work. Where a page elsewhere on this site shows an example of a finish we install but haven't photographed yet, it says so in the image description.

Want a floor like these?

Call, text, or send a few photos and rough measurements. Free estimates, often over the phone — no sales visit unless the job genuinely needs one.